imageCLASS Wireless Setup Video for PC (MF740/MF640/MF440, & LBP660/LBP650/LBP220 & X Series)
[embedyt] https://www.youtube.com/watch?v=DPi5m9aui9c[/embedyt]
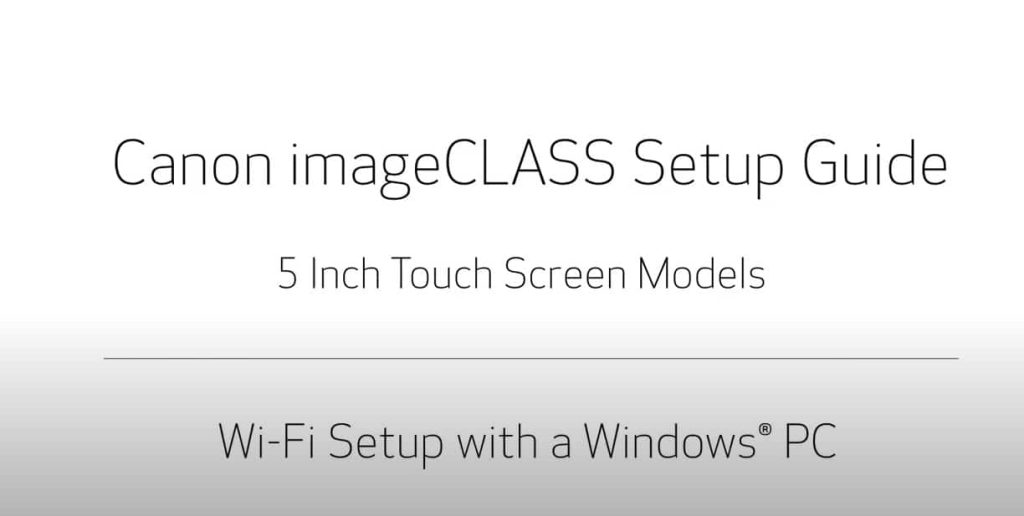
The following video guides you through the Wi-Fi setup on a Windows PC with your imageCLASS (5 inch Touch Screen) multifunction printer. Supported Models include: MF746Cdw/MF745Cdw/MF743Cdw/MF741Cdw, MF644Cdw/MF642Cdw/MF641Cw, MF449dw/MF448dw/MF445dw & LBP664Cdw/LBP654Cdw, LBP228dw/LBP227dw & imageCLASS X Series (MF1127C, MF1238, LBP1127C, LBP1238) models.
In this video, we’ll cover how to set up your canon imageCLASS printer on a wireless network with a Windows computer. Let’s get started.
- Before connecting your printer to the network, confirm that your wireless router is available and properly set up. Also, confirm that your computer is connected to the network.
- Next, make sure your printer is plugged in and turned on. The main screen will be lit when the printer is on. If the sleep icon is lit, press the Home button to wake the printer.
- On the home screen, tap Menu. Tap Preferences. Then tap Network. Enter your ID and password. If you haven’t created one, the default is 7654321. Tap Wireless LAN settings. Tap Yes to enable the wireless LAN.
- Review the displayed message and tap OK. Tap SSID settings. An SSID is your wireless network, also known as a Wi-Fi network. Tap Select access point. The printer will begin to search for available wireless routers. Highlight the router that you would like to use and tap Next.
- Be sure to select the router that your PC is connected to. Enter your network password. Your password is case-sensitive. Tap the shift key to switch to uppercase letters and the symbol key for numbers and symbols. Once the password is entered, tap Apply. Confirm your password is correct and tap Yes. When this screen appears, the printer is connected to the network. Tap Close and then press the Home button to return to the main screen.
- Now, let’s install the software. Download the installation files from the Canon website by visiting usa.canon.com/support. Follow these links to download the software for your printer. Be sure to use the Windows driver that corresponds to the operating system on your computer.
- Open the downloaded file on your computer to get started. Click Next to start the installation process. The License Agreement screen will be displayed. Read the License Agreement and if you agree to the terms, click Yes to continue with the installation. Select Network Connection and then click Next.
- If this message appears, click Yes to make exceptions for the Windows Firewall. The software will begin to search for your device. Select your printer from the list then click Next. Place a check in the box for each device you wish to install and then click Next.
- Now, select each driver you wish to install. The UFR II printer drivers are the most common and they will work for most users then click Next. Confirm the name of your printer and then click Next. Confirm the name of your fax and then click Next. Confirm your settings then click Start to begin the installation. Now, the drivers will be installed. This may take several minutes.
- When the installation is complete, this screen will appear. Select a device as your default printer and then click Next. If you would like to make a test print, place a check in the box and click Exit. You can skip test printing by removing the check and clicking Exit.
Congratulations! This completes the installation of your Canon imageCLASS printer to a Windows computer using a wireless connection. Now, you’re ready to print and scan.
Need help setting up your canon wireless on PC?
Contact Us at:
- Toll-Free: 800-564-2972
- Phone: (407) 537-7276
- Email: info@1800officesolutions.com
Or on the live chat.
Topic
Canon