How to Use the Bypass Tray on a Copier: Step by Step Guide
How to Use the Bypass Tray on a Copier
The Bypass Tray, also known as the multi-purpose tray, is a useful tool for the copier user. It can be used to print jobs on media not supported by the main trays of the machine, such as OHP transparencies, adhesive labels, translucent paper, and paper that cannot be loaded in the paper trays. It can also be used for printing on plain paper, label sheets, tab paper, and other special media.
Using the Bypass Tray is a straightforward process, and most major printer types have similar procedures when it comes to loading paper into the bypass tray. In the case of Canon printers, the user must select the appropriate paper size, type, and settings from the copier control panel. Then, the paper must be removed from the stack and inserted into the bypass tray. It is important to make sure the paper is correctly aligned so there are no misfeeds and the machine can detect the paper size and type.
The user should load only as much paper as can be held in the bypass tray, according to the manufacturer’s guidelines. After the paper is loaded, the user can make copies from the bypass tray, as the machine will automatically detect the paper size and type.
Open the Stack Bypass Tray.
Transitioning from the previous section, it is important to remember to open the stack bypass tray before you attempt to print or copy from it. To ensure that your paper will be loaded correctly, the stack bypass tray must first be opened. This can be done by pressing the button located on the front of the device.
The stack bypass tray can accommodate various types of paper, including plain paper, envelopes, transparency films, and letterhead. However, the maximum number of sheets you can load into the bypass tray depends on the type and size of the paper. To avoid misfeeds and ensure that the paper is loaded correctly, it is recommended that you only load as many sheets as can be held securely in the tray.
Before you load any paper into the stack bypass tray, make sure you specify the paper size and type that you are going to use. The stack bypass tray is equipped with guides to the paper size, and you can use these guides to align the paper correctly. Once the paper is in place, you can press the button on the control panel to begin copying from the bypass tray.
If you are using special media like OHP transparencies, adhesive labels, or translucent paper, it is important to remove any paper already loaded in the stack bypass tray and then reload it with the special media. Also, make sure you fan the paper before you insert it, as this will help reduce any curling or edge issues that may occur.
Adjust the Slide Guides to Match the Size of the Paper.
Following the instructions to open the stack bypass tray, it is now necessary to adjust the slide guides to match the size of the paper. This important step ensures that the paper is properly loaded into the bypass tray and is not too small or too large. First, check the type and size of paper that can be loaded into the bypass tray. It is important to note that the type and size of paper may vary depending on the make and model of the machine.
If using a Sharp copier, you can watch a helpful video on YouTube for detailed information on how to adjust the guides on the bypass tray for the type and size of paper you are using. For a Toshiba machine, you can refer to the function in the control panel and select the appropriate paper size. The default setting is usually set for letter-sized paper.
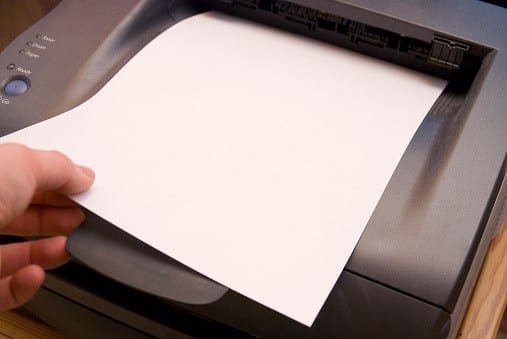
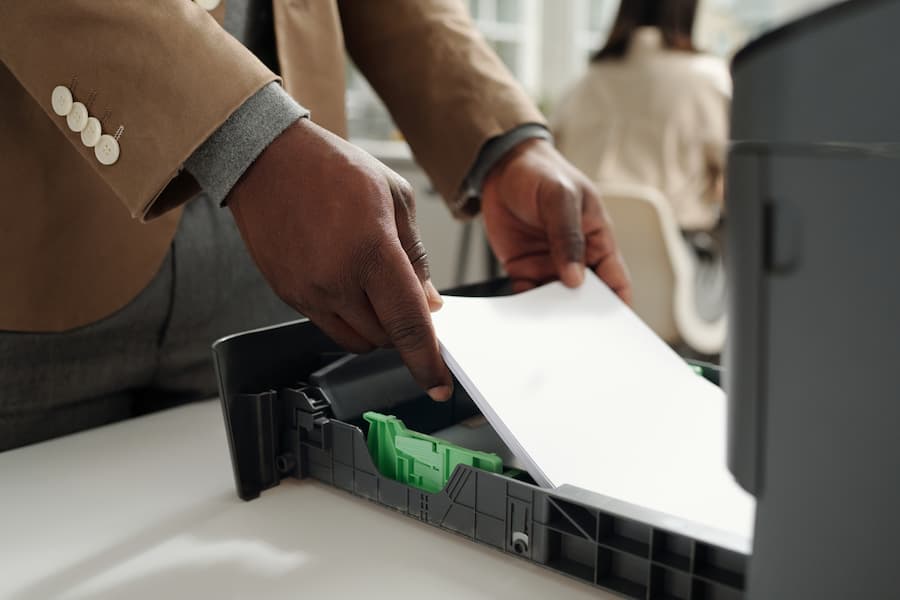
Once you have determined the type and size of paper, you can begin loading the paper into the bypass tray. Make sure the tray is on a level surface. Remove any paper in the tray, and then insert the paper with the side to be printed facing up. Load only as much paper as can be held securely by the slide guides. If the paper is not securely held, it may cause misfeeds when making copies.
Finally, adjust the slide guides to match the size of the paper. If the paper is too small, the guides may be too close together and can cause paper to curl. If the paper is too large, the guides may need to be extended. When finished, press the OK button to stop the function.
Load the Paper Into the Stack Bypass Tray
Before inserting paper into the stack bypass tray, the copier technician should first determine the type of paper to be loaded. Removing all the paper from the tray, the technician should ensure that the option is installed and that the document light is on.
Then, they should load the paper, making sure to thoroughly fan the stack before placing it into the tray. To ensure the paper is loaded correctly, the technician can check the comprehensive computer settings or user guide for further detail. To avoid misfeeds, the technician should make sure that the edges of all the papers are aligned and that a maximum number of sheets are loaded into the tray.
Before Inserting Paper
Before starting any printing or copying operation, it is essential to prepare the stack bypass tray correctly. To avoid misfeeds and paper jams, it is necessary to make sure the paper is loaded correctly and securely into the stack bypass tray. First, remove any paper that may already be loaded into the stack bypass tray. Then, check the guides on the stack bypass tray to ensure that they are aligned correctly to the paper size. If necessary, adjust the slide guides on the stack bypass tray to match the size and type of paper you are loading.
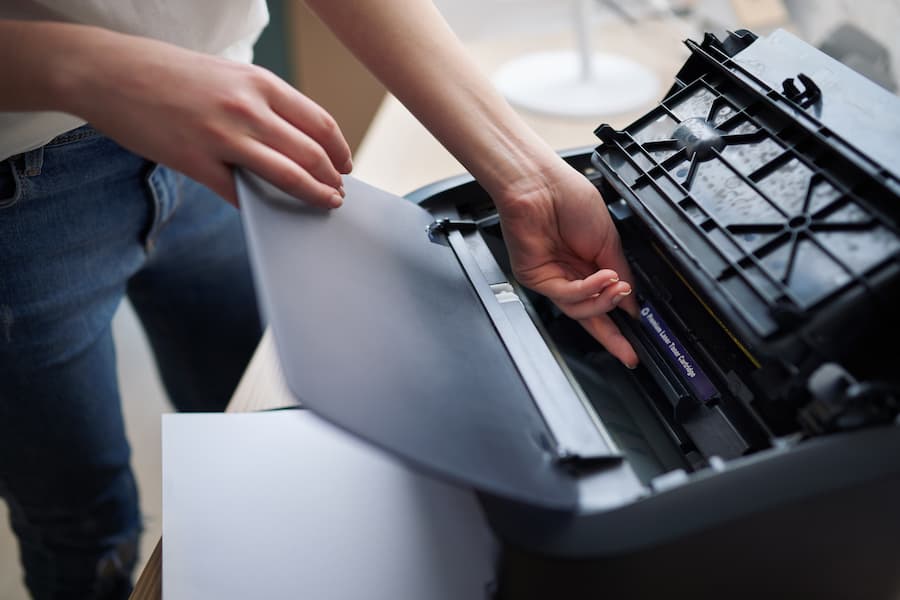
Straighten out any curled paper before loading it into the stack bypass tray, as it may cause a paper jam. If the paper is still slightly curled, curl the front edges of the paper upward. Once the paper is straightened out, carefully load the paper into the stack bypass tray, making sure that the paper is correctly aligned to the guides on the stack bypass tray. Make sure that you only load as much paper as can be held by the tray.
Lastly, specify the size and type of the paper loaded (which can be done using the printer’s control panel). This will ensure that your printing or copying job will be carried out successfully.
Loading Envelopes
Now that you have loaded paper into the stack bypass tray, it’s time to tackle loading envelopes. It is important to take extra care when loading envelopes in order to prevent misfeeds and reduce the risk of damaging the machine. Before loading envelopes, you should check to make sure that the paper type is set to envelope and the paper size is set to the correct size of the envelope.
Start by taking five envelopes and loosening them as shown. Repeat this step five times for each set of five envelopes. When loosening the envelopes, be sure to not print on the back side of the envelopes, the side with the flap. After the envelopes are loosened, stack them together.
Next, place the envelopes on a clean, level surface and press all the way around the envelopes by hand, in the direction of the arrows, to remove any curls. Repeat this step five times for each set of five envelopes. This will help the envelopes feed through the printer correctly without jamming or misfeeding.
Once the envelopes are loaded onto the bypass tray, the copier can detect the type and size of paper, so no additional settings or adjustments are necessary. However, make sure not to overload the bypass tray as this can make copies look blurry or cause a misfeed. The maximum number of sheets you can load into the bypass tray depends on the type and size of paper you are using. Now that you know how to properly load envelopes, you are ready to make copies!
How Do You Use the Bypass Tray on a Sharp Copier?
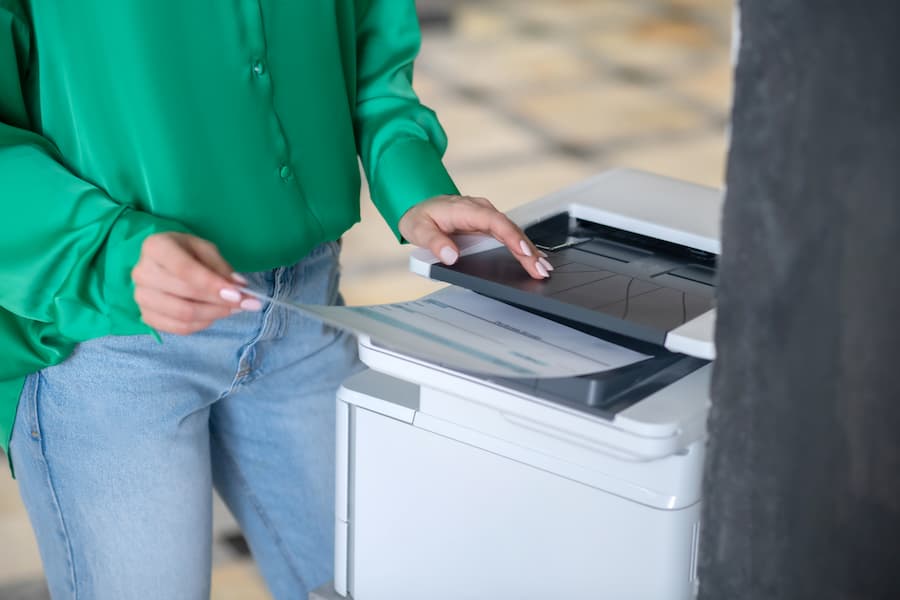
Having discussed how to load envelopes into the bypass tray of a Sharp copier, let us now focus on how to use the bypass tray. To begin, one must load the paper with the print side facing down. This is important as it will ensure that the text is correctly printed on the paper. Then, the bypass tray guides must be correctly set to the width of the paper. After this is done, open the Home Screen and tap the Tray Settings key. Choose the tray you wish to program (Bypass).
The copier should now detect the type and size of paper loaded in the bypass tray. It will then recommend a default paper size. You should select the correct paper size and type from the list of options. This will help the copier make copies from the bypass tray. To ensure that the paper is aligned correctly, the guides on the bypass tray must be aligned to the paper size. You should also fan the paper before loading it to ensure that there are no misfeeds or curl in the paper.
The maximum number of sheets you can load into the bypass tray should not exceed the specified limit on the control panel. This limit depends on the type and size of paper that can be loaded into the bypass tray. It is recommended that you load only as much paper as can be held in the bypass tray. If you add too many sheets, it may cause a misfeed or jam in the machine.
Finally, to ensure that the copier works properly, make sure that the paper is loaded on a level surface. This will help the copier detect the paper type and size accurately.
Conclusion
Using the bypass tray on a copier is not complicated. You simply open the stack bypass tray, adjust the slide guides to match the size of the paper, and begin loading. Depending on the copier, you may need to change settings on the control panel to specify the paper size, type, and number of sheets. When loading envelopes, make sure to remove any paper that may be already loaded, and fan the envelopes to reduce the chance of misfeeding.
For more detailed information on how to use the bypass tray on a specific make and model of copier, be sure to consult the user manual. With a little practice, you can become a pro at using the bypass tray on your copier.