How to Clean Printer Heads for Better Ink Efficiency

1800 Office SOlutions Team member - Elie Vigile
1800 Team

How to Clean Printer Heads?

The printer head is crucial in your printing apparatus, functioning as the bridge between digital documents and their physical counterparts. It operates by propelling ink droplets onto paper, crafting the images and text we see. Therefore, its maintenance is non-negotiable for ensuring sustained print quality and printer efficiency. Over time, ink residues can accumulate, leading to clogs and suboptimal performance.

Consequently, regular printhead cleaning not only prolongs the device’s life but also guarantees that every printout mirrors the precision and clarity expected. In other words, a well-maintained printhead translates to fewer ink wastes, sharper outputs, and an overall reliable printing experience.

How to Clean Printer Heads

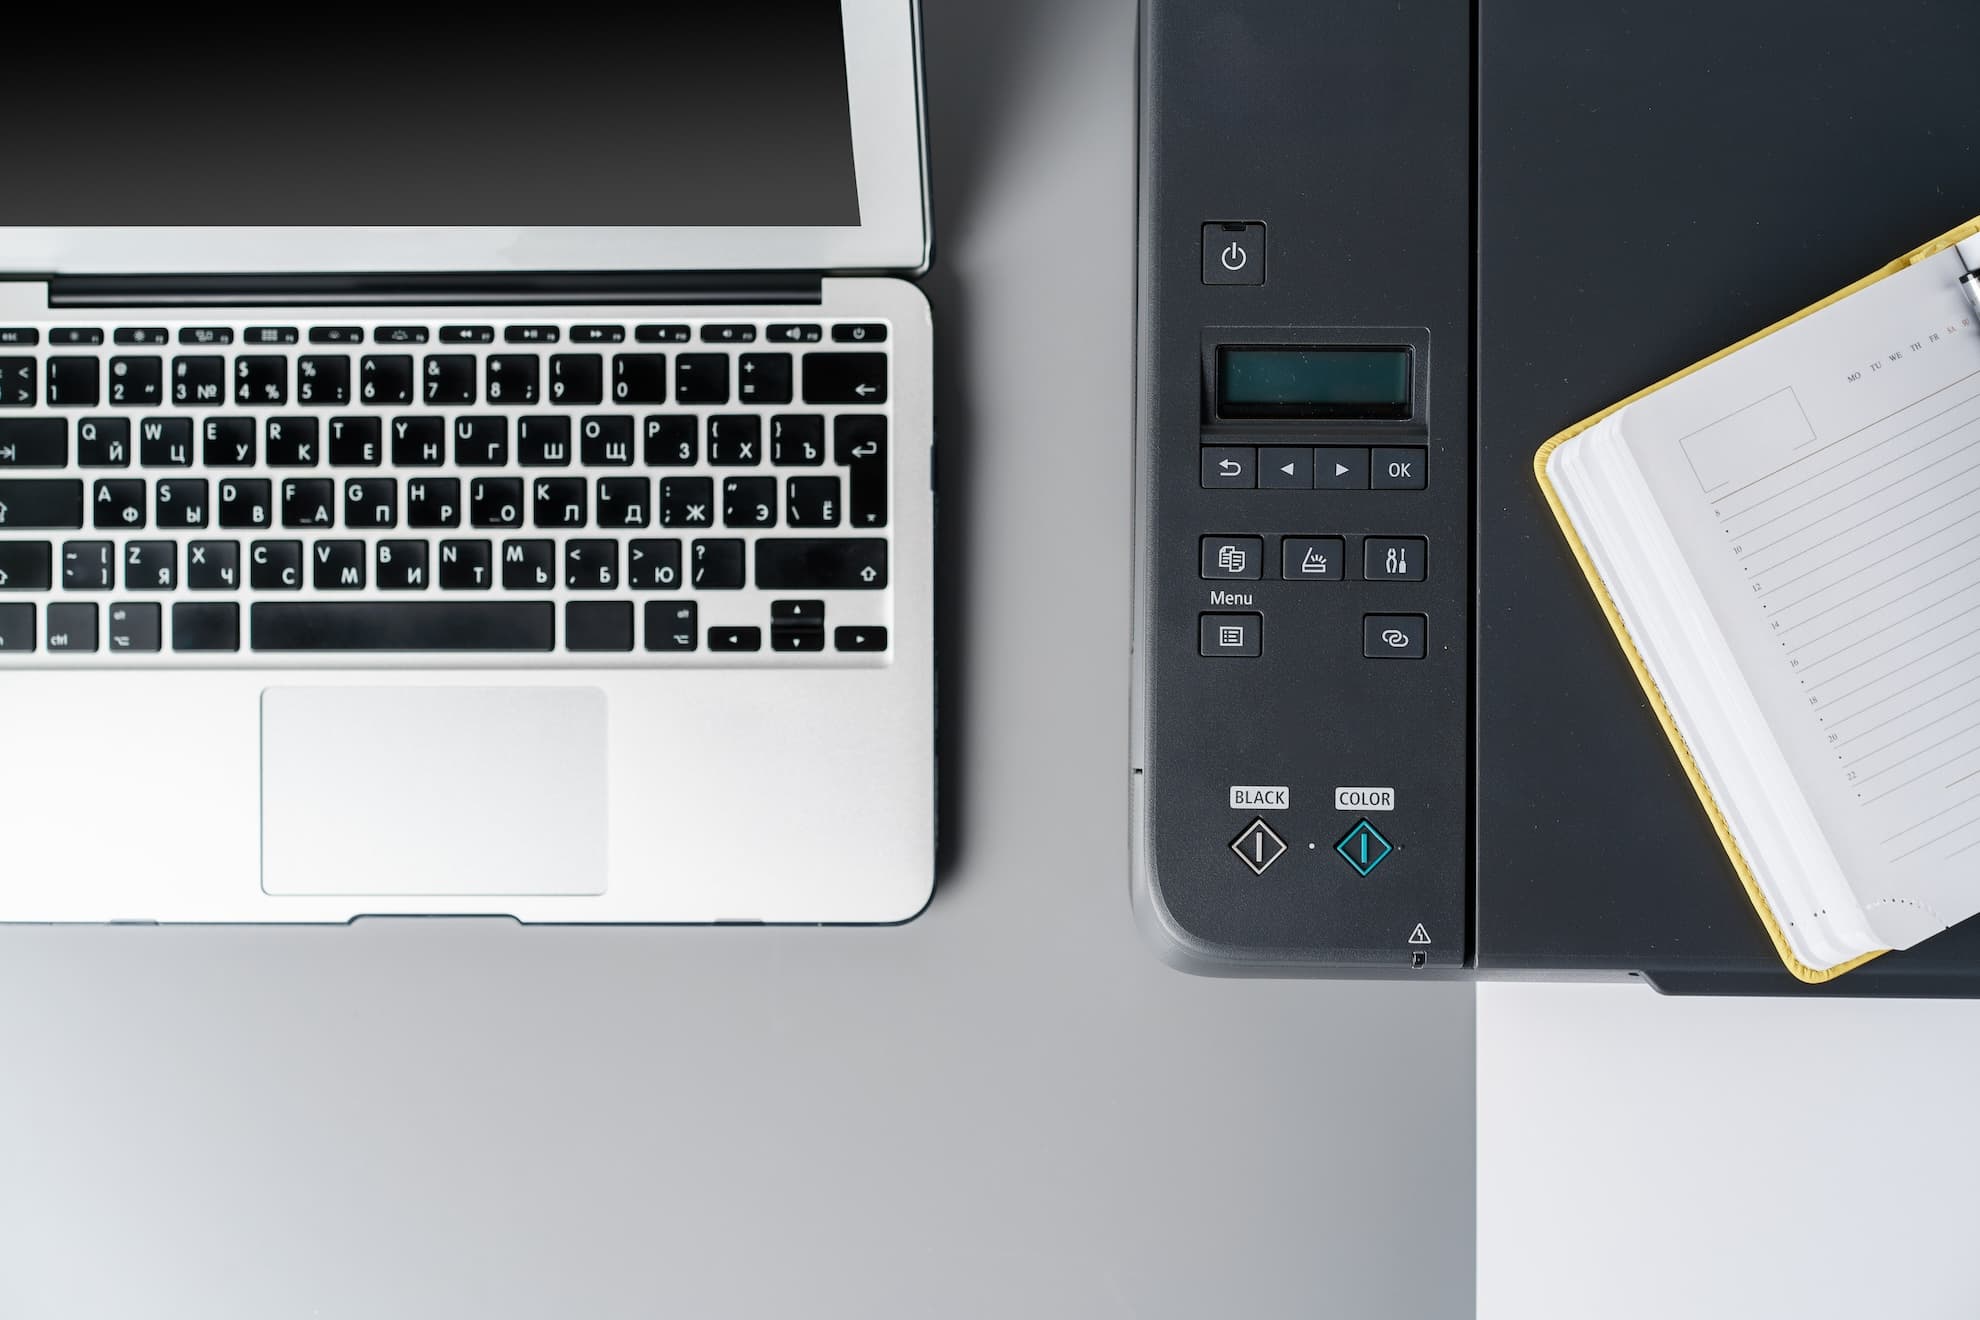
What is Printer Head

The printer head is the component that applies ink to paper. There are primarily two types: inkjet and laser, with the former being more prevalent in home and office environments. Within inkjet printers, printheads can be built into the printer or integrated into the ink cartridge itself.

Signs signaling the need for head cleaning include streaky or faint printouts, misaligned color patches, or the outright absence of ink on paper. For instance, should you notice irregularities in your document’s appearance, it’s a clear indicator that a printhead cleaning is due.

What are Signs of a Failing Printhead?

When diagnosing a deteriorating printhead, look for these clear indicators:

  • Faded or lighter prints indicate the printhead’s inability to dispense the correct ink volume.
  • Streaks or lines across your prints suggest uneven ink distribution.
  • Missing text or blank spots in prints signal blocked nozzles.

Recognizing these signs early can prompt timely maintenance, potentially extending your printhead’s lifespan and ensuring consistent print quality.

Why Do Printheads Fail?

Printheads can fail due to the intense heating and cooling they undergo during operation, which affects the printing elements’ efficiency over time. Additionally, the continuous pressure exerted to generate high-quality prints can wear them down.

Proper maintenance is vital; for instance, a thermal label printer’s printhead typically lasts up to one million linear inches of printing. Without adequate care, this lifespan decreases significantly. Regular maintenance not only prevents premature failure but also ensures optimal performance throughout the printhead’s life.

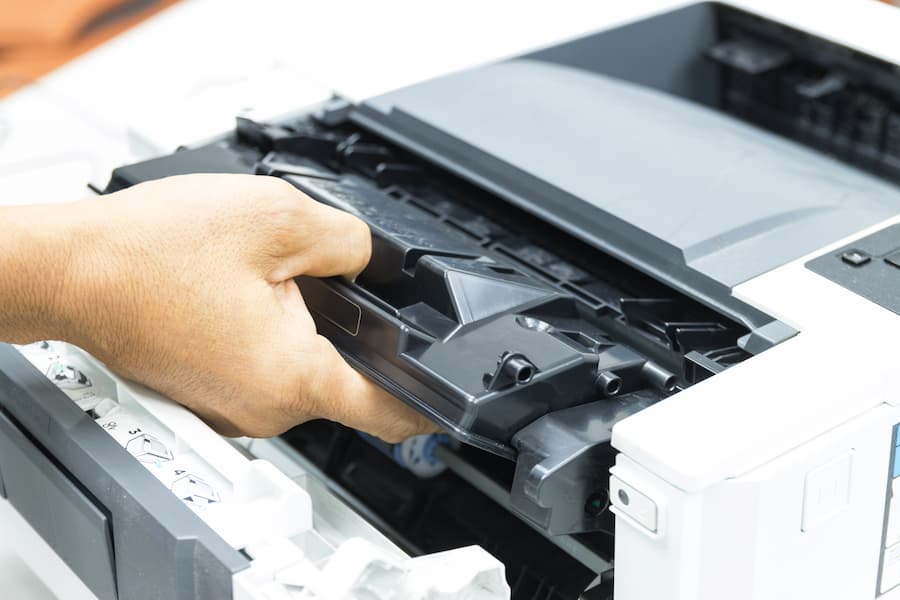
Preparatory Steps for Cleaning Printer Heads

Before embarking on the cleaning process, it’s imperative to adopt certain safety measures and gather the requisite tools, such as lint-free cloths, isopropyl alcohol, and gloves. Above all, consult your printer’s manual to understand the specific cleaning protocol for your model. Initially, deploying the printer’s built-in Nozzle Check utility aids in diagnosing the extent of clog severity, thus informing the intensity of cleaning needed.

After that, if the utility reveals substantial blockages, a more thorough, manually executed cleaning might be in order. Similarly, ensuring your printer is powered and connected, with all necessary supplies at hand, sets the stage for an effective cleaning procedure, as highlighted in Epson’s guide on Print Head Cleaning.

Cleaning Printer Heads Using Software

For Windows users, the process to clean the printhead is user-friendly. Initially, access your printer settings from the control panel. Select the printer’s properties and locate the maintenance tab. Here, you’ll find the printhead cleaning option. Initiating this process will launch a cleaning cycle that can resolve minor clogs and improve print quality.

Macintosh users, similarly, can navigate to system preferences and select ‘Printers & Scanners’ to find their device. Choose ‘Options & Supplies,’ then ‘Utility,’ and finally ‘Open Printer Utility.’ The clean printheads option in the utility section conducts a thorough cleaning.

To verify success, print a test page or initiate a nozzle check through your printer software. If the printout shows no gaps or streaks, the cleaning was successful.

Automated Printhead Cleaning

To maintain your printer efficiently, take advantage of the automated printhead cleaning feature available through your printer’s software. This user-friendly maintenance mode enables a self-cleaning cycle, streamlining printhead care directly from your computer.

For Windows Users:

  • Navigate to Settings, find Devices, then Printers & Scanners.
  • Choose your printer, select Printing Preferences, hit Maintenance, and commence Cleaning.

For Mac Users:

  • Access System Settings via the Apple icon.
  • Go to Printers & Scanners, pick your printer, and use the Utility for Clean Print Heads.

If these options aren’t visible, refer to the printer’s manual or reach out to your print service provider for assistance.

How to Manually Clean Your Printer’s Printhead?

Ensuring your printer’s printhead remains clean is crucial for maintaining optimal performance and longevity. Regular cleaning not only extends the life of the printhead but also ensures the quality of prints remains high. Here’s a comprehensive guide to manually cleaning your printer’s printhead, ideal for routine maintenance and care.

How to Manually Clean Your Printer

Essential Supplies for Printhead Cleaning

Before you start the cleaning process, make sure you have the following items at your disposal:

  • Printhead cleaning swab or pen
  • Lint-free cloth
  • Homemade printhead cleaning solution (mix 90% isopropyl alcohol with 10% distilled water)

Easy Cleaning with a Printhead Cleaning Swab

Utilizing a printhead cleaning swab is a straightforward method to keep your printhead clean:

  1. Power Considerations: While it’s not mandatory to turn off your printer while cleaning the printhead, it’s a recommended safety measure to avoid losing temporary settings. Remember, if you power off, you’ll need to reload settings like label formats before printing again.
  2. Static Discharge: To prevent any static damage, discharge static electricity by touching the printer’s metal frame or using an anti-static wrist strap.
  3. Cooling Time: Open the media door cautiously; the printhead can be hot. Allow it time to cool to prevent any risk of burns.
  4. Accessing the Printhead: Lift the printhead assembly by moving the lever upward.
  5. Cleaning the Printhead: Remove any installed ribbon and media, then gently wipe the printhead’s brown strip using a Maintenance Kit swab or a clean swab soaked in 99.7% isopropyl alcohol. Wait for the solvent to fully evaporate.
  6. Cleaning the Platen Roller: Manually turn the platen roller, cleaning it thoroughly with the swab and allowing the alcohol to evaporate before proceeding.
  7. Reassembly: Once the components are dry, reinstall the ribbon and media following the manufacturer’s guidelines.
  8. Securing the Printhead: Close the printhead assembly by lowering the lever until it locks into place.
  9. Final Steps: Shut the media door, exit pause mode by pressing ‘PAUSE’, and prepare for a label calibration or feed, based on your specific settings.

Additional Tips

  • If you notice persistent quality issues after cleaning, consider using a Save-A-Printhead cleaning film for a deeper clean that doesn’t harm the printhead.
  • For visual learners, look for tutorial videos specific to your printer model for guidance on cleaning procedures.

By adopting this cleaning routine, you can significantly enhance your printer’s performance and extend the printhead’s lifespan, ensuring consistent print quality for all your projects.

How do I clean the heads on my HP printer?

To clean the printhead on your HP printer, you can use a simple and effective method involving common household items. Begin by warming a damp paper towel or coffee filter. Press the printhead against this warm, damp surface to loosen and absorb any dried ink.

Afterward, position the cartridge, printhead down, on a dry paper towel for two to three minutes, which helps draw out any remaining ink clogs. This method is gentle and can effectively clear blockages, improving your printer’s performance.

Troubleshooting Common Issues

When facing persistent clogs or degraded print quality, multiple cleaning cycles might be needed. It’s crucial to assess the age and condition of both the printhead and ink cartridges, as outdated components can significantly impact performance.

Consistently performing a cleaning cycle, such as on a monthly basis, can preempt many common issues, particularly in maintaining the efficiency of your printer.

For HP printer owners, utilizing brand-specific cleaning solutions and adhering to recommended maintenance protocols can substantially enhance the printhead’s functionality and extend its operational lifespan.

What People Also Ask

How often should I clean my printer heads?

It’s wise to clean your printer heads when you first notice print quality degradation. This could mean after every few months for regular users, or possibly more often for heavy users. Doing so maintains optimal function and quality, preventing more severe blockages or damage.

Can I manually clean a printhead?

Yes, manual cleaning is feasible, especially when software cleaning doesn’t resolve the issue. It should be done carefully using the correct tools and following detailed instructions to avoid any damage. This approach is beneficial for addressing stubborn clogs that automated processes can’t clear.

What if cleaning doesn’t improve print quality?

If your print quality doesn’t improve after cleaning, the printhead may be excessively worn or damaged. In such cases, replacing the printhead might be necessary. Alternatively, consulting with a printer maintenance professional can provide further insight and help determine the best course of action.

What is the easiest way to unclog ink jet printheads?

The easiest way to unclog inkjet printheads is by using the printer’s built-in cleaning function. This feature is accessible through the printer’s software interface on your computer. Simply select the cleaning option, and the printer will perform an automated process to dislodge any dried ink from the nozzles.

Conclusion

Diligent maintenance of your printer is crucial for its efficiency and durability. By routinely cleaning the printheads, either via automated software or manual methods, you ensure that ink is utilized effectively and your print results remain top-notch.

Adopting these maintenance habits will help maintain your printer’s operational health and ensure its reliability over time, allowing you to enjoy consistent, high-quality printing without unexpected interruptions or degraded output quality. Prioritize these practices to safeguard your printer’s performance and extend its lifespan.

Was this post useful?
Yes
No